In music production the EQ, or the equalizer, is perhaps the most important element besides the tools producing the sounds themselves. If you’re doing spoken word for podcasting you won’t have to deal with the same issues someone mixing an entire song has to however, that is, to adjust the frequencies of the separate sounds to make them all fit together in the spectrum. But it’s still a useful tool.
This is the purpose of the EQ – to adjust frequencies. Most likely you will already have dealt with EQ:s on your home- or car stereo. Consider it a volume control for different parts of a sound itself.
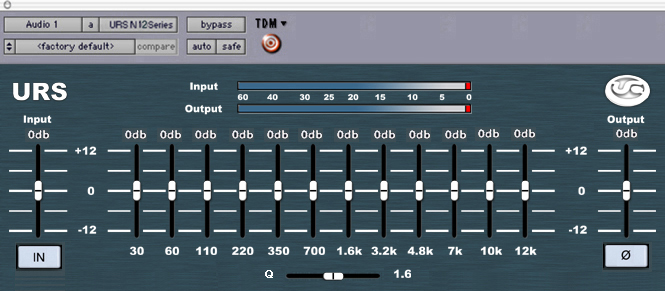
In the past graphical EQs were a couple of sliders next to each other, while they still exist, in the digital world it’s much more common to have a proper display of the spectrum today. Non-graphical EQs lack this, and usually only have knobs to turn. Both will do the job, both will force you to listen if you want to achieve good results. The lesson to be learned in any audio work is that you should never rely solely on your eyes.
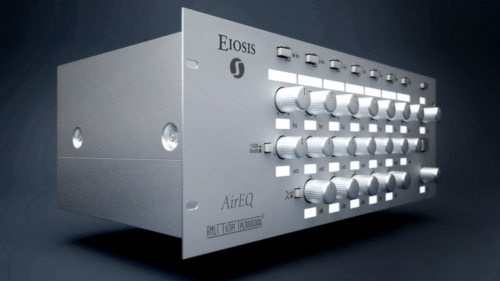
Most EQs have a fixed amount of bands. This could be described as the areas of which you can raise or lower the volume. On some EQ:s they are static, which means they operate within a fixed spectrum, such as 350Hz-1kHz. Sometimes they are sweepable, meaning that you can change the spectrum. Going with the above example, you could choose to move it to 450Hz-1.1kHz. 3-band, 5-band and 7-band EQ:s are all common, though for instance Roger Nichols Digitals Uniquel-izer let’s you add as many bands as you want.
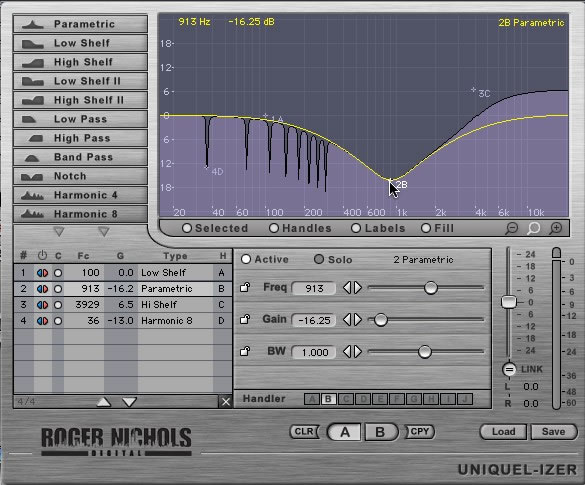
Most EQs features a couple of ways to set the curve. Look at the picture above, the Roger Nichols Digital Uniquel-izer may look frightening with all the controls but is wonderful to work with once you get used to it. There is another reason for the picture though. Look at the top left, it features all kinds of curves to apply. I thought it would be easier to understand if you actually see representations of them. Note that most of them can also be inverted. For instance, the “valley” in the graph (where the pointer is) is made with the use of a parametric band that have cut a lot of dBs. The small “carvings” to the left in the graph was made with a special type of band usually not found in EQs that’s called “harmonic” on the Uniquel-izer, but you could do the same by using several parametrics. Other common types are high pass and low pass filters. These cut out the high or low frequencies below or above the setting. For instance, you can often cut out frequencies under 20Hz because it is bass sounds that you often won’t need. The high- and low shelves are similar but not identical, they can both cut and boost.
The Q value sets the width of the band. So for instance, one band could by default be set to operate on 350Hz-1kHz, but with a change of the Q value it could be set to operate only on 350Hz-400Hz or 350Hz-2kHz. Look at the Uniquel-izer again, the “valley” is made with a low Q value, while the “carvings”, if they would’ve been made with parametric bands, would be made with a very high Q value.
Boosting or cutting a frequency refers to raising or lowering the volume of a frequency.
For more on EQs you can check out the five part Spotlight on www.protoolerblog.com.
Originally posted on June 12, 2010 @ 1:15 am